Truck Check
Step 1
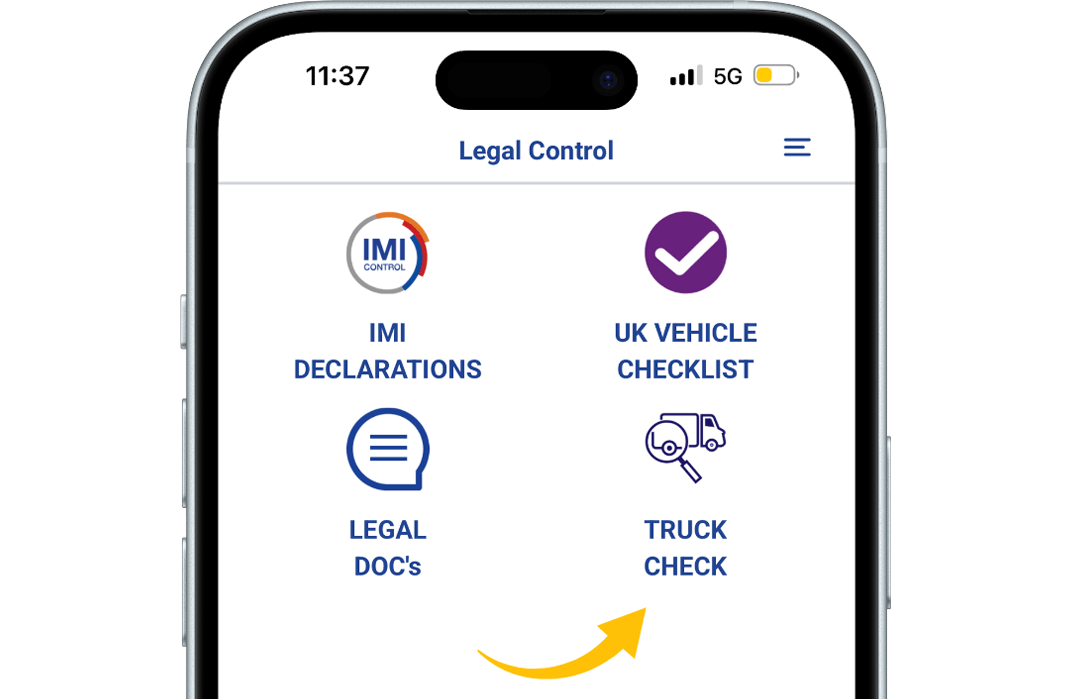
Open the Truck check.
Then tap on “Truck Check” to proceed.
Step 2
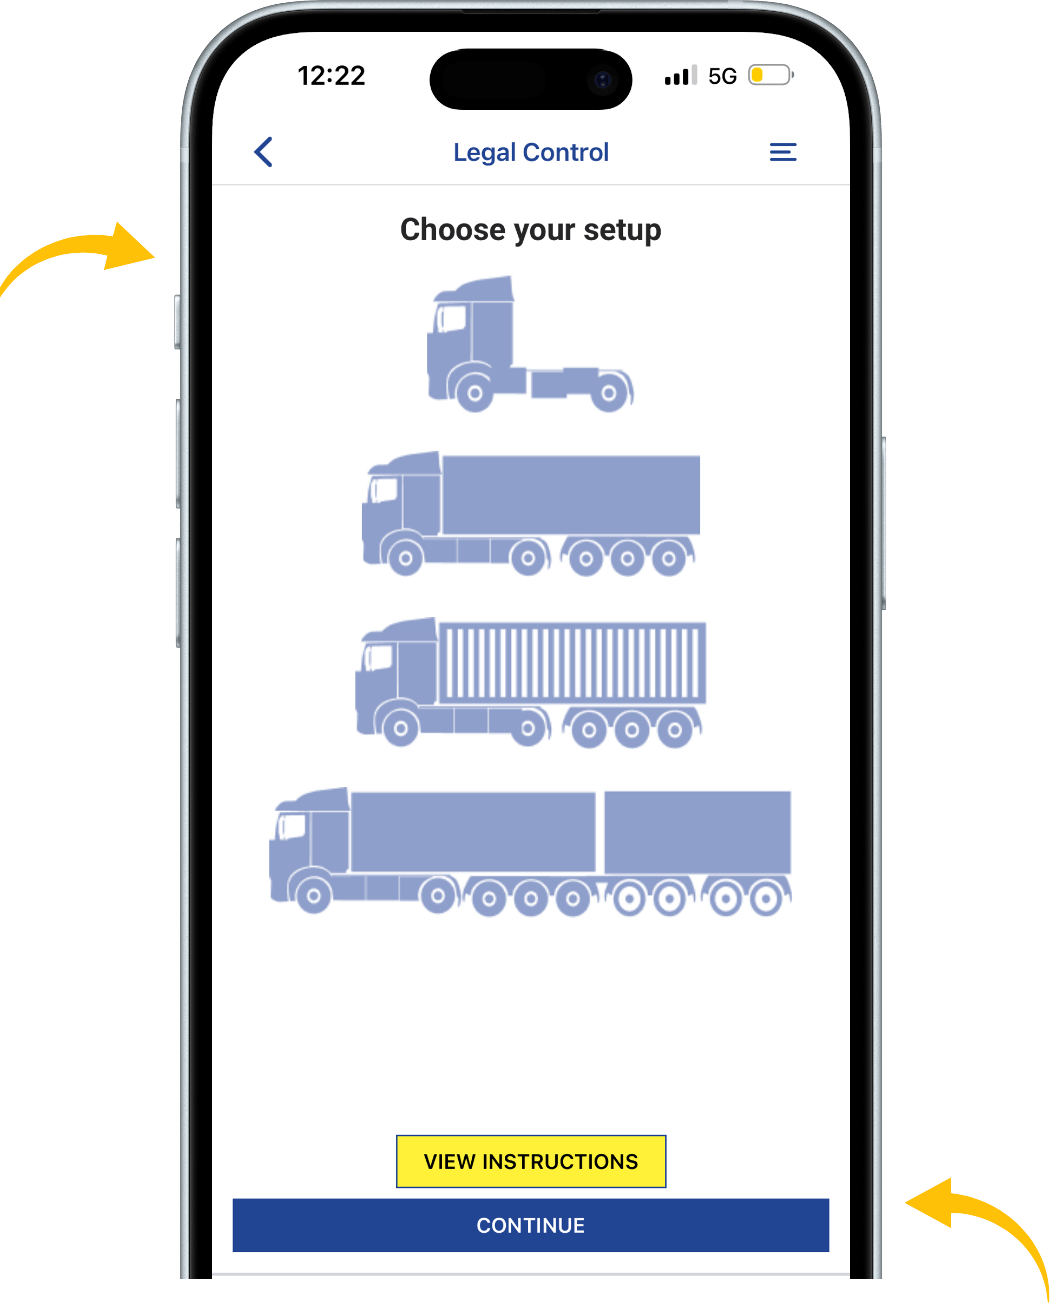
Choose your setup.
Once selected, tap “Continue” to move forward.
If you need help,
Tap “View Instructions” for help with the truck check.
Step 3
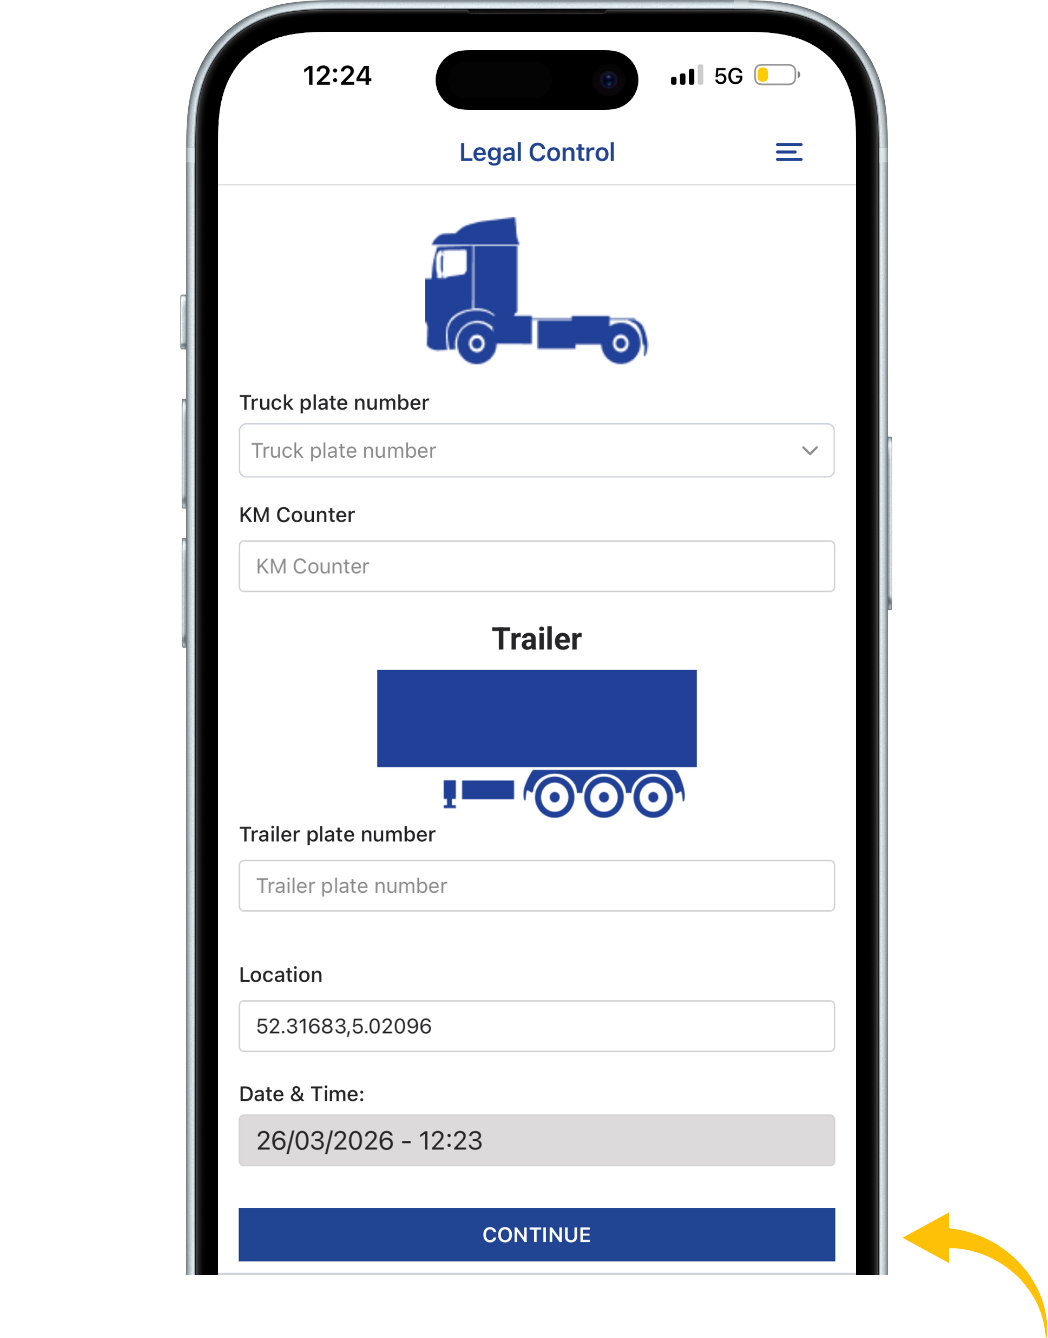
In this example, a truck with trailer is selected.
Fill in the required fields:
truck plate number, KM counter, and trailer plate number.
Once all fields are completed, tap “Continue”.

Step 4
Tap “Check In” at the top of the screen to
begin the check-in for your selected setup.
At the bottom of the screen, under “Old Checks”,
you can find the previous check-outs for this setup.
A red number indicates how many damages
were reported for that license plate.
Tap the eye icon to view the details of a previous check-out.
Step 5
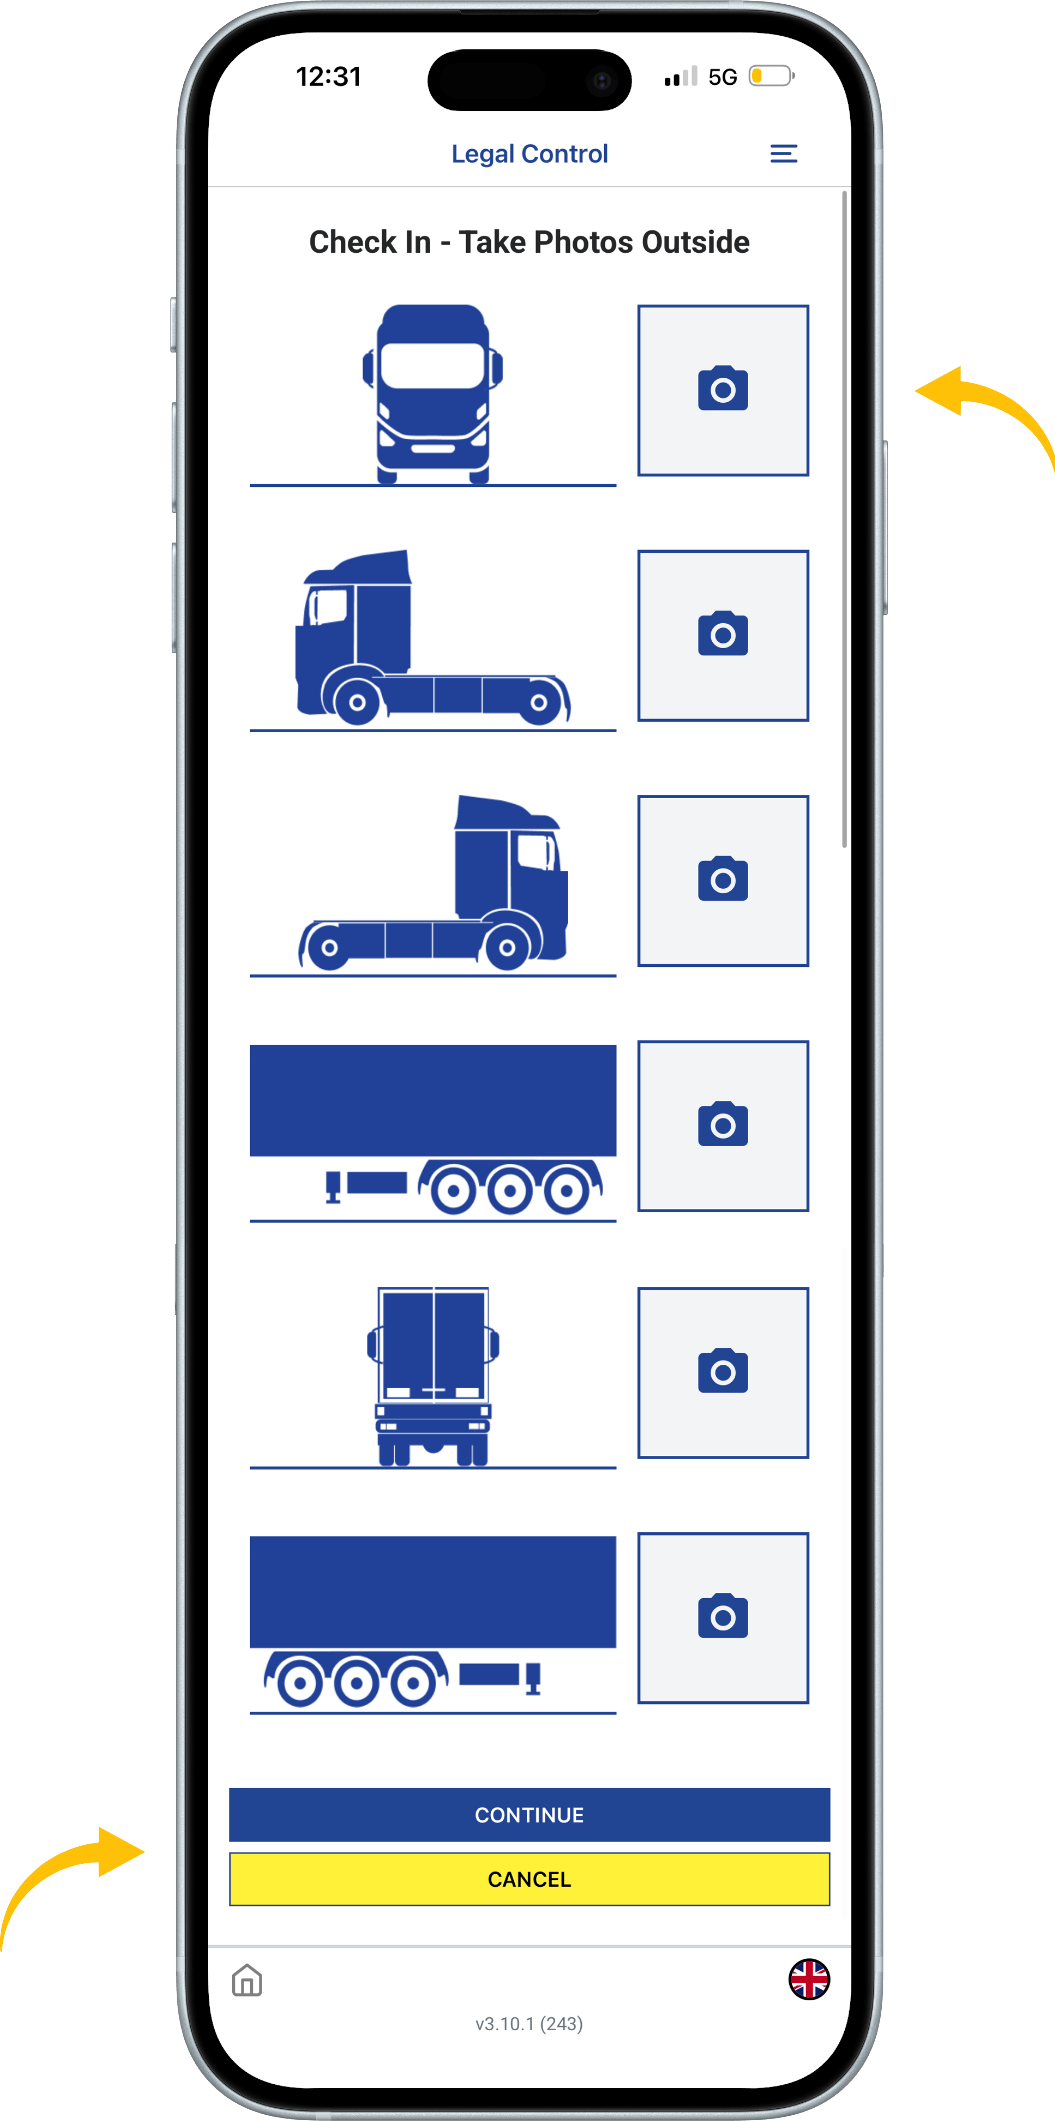
Take photos of your selected setup from all required angles.
Tap the camera icons to capture each photo.
Once all photos are taken, tap “Continue” to proceed.
You can stop the process at any time by tapping “Cancel”.
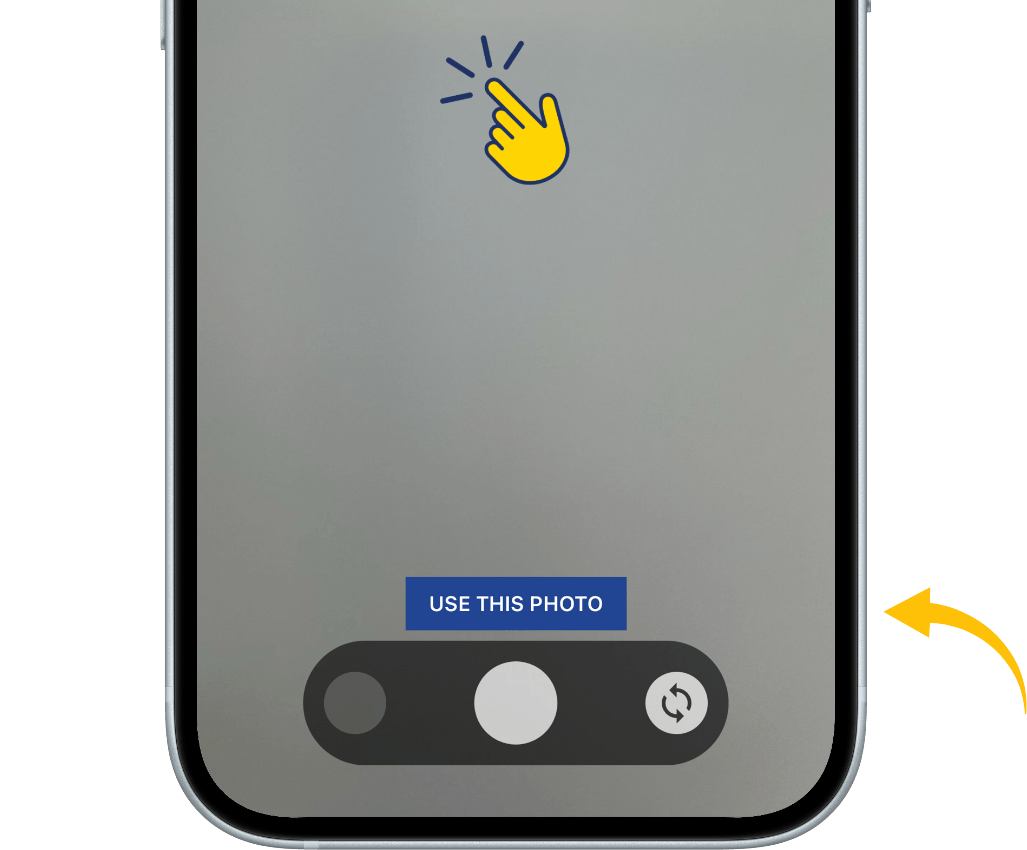
Step 6
After taking a photo,
tap and hold the screen to mark any damage.
A red circle will appear, which you can resize using
the “+” and “–” controls in the top right corner of the screen.
To confirm the photo, tap “Use This Photo”.
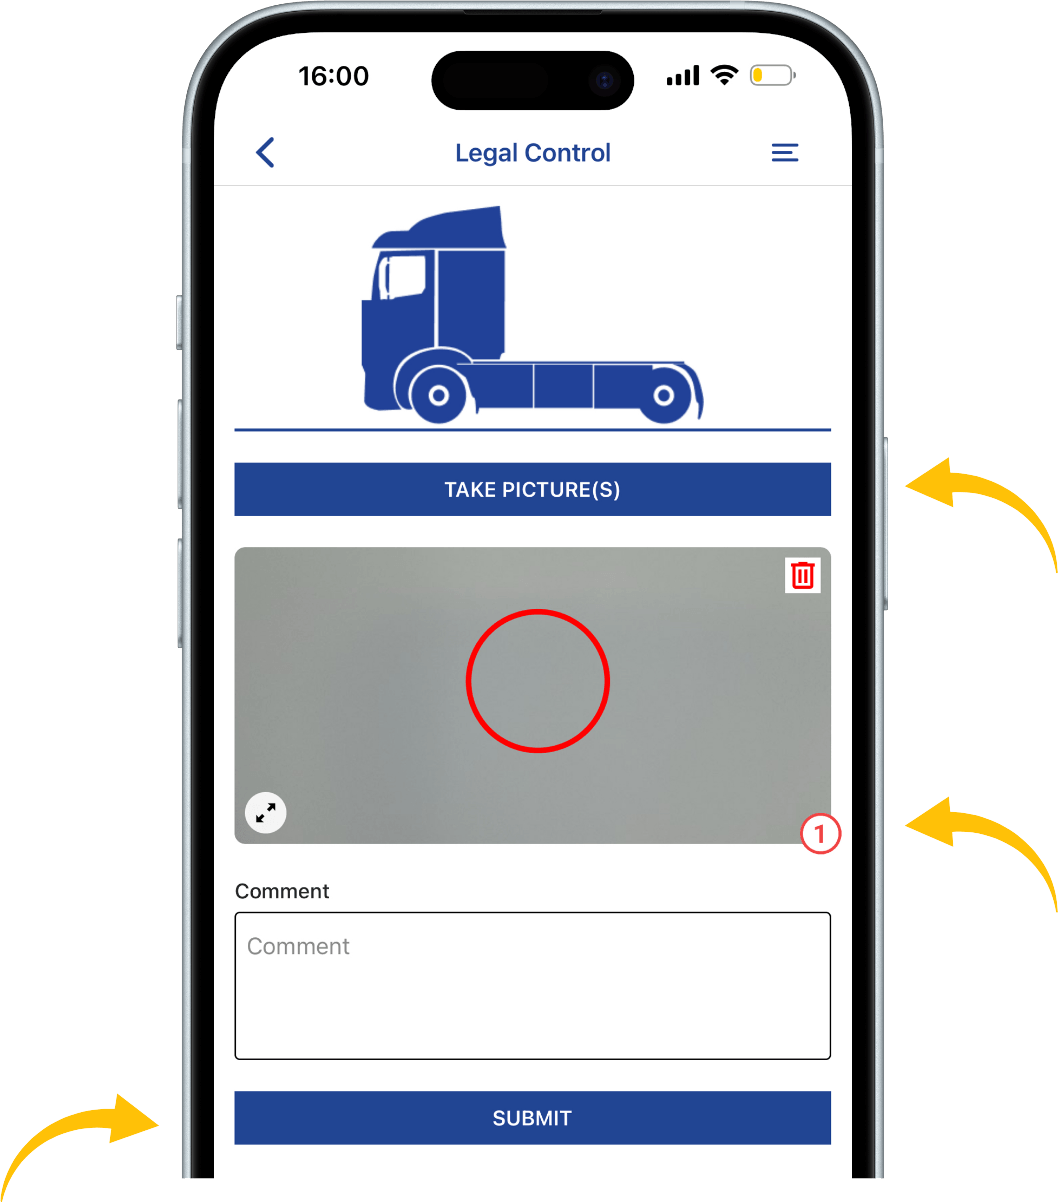
Step 7
This screen shows an overview of one side of the setup.
Tap “Take Picture(s)” to retake or add photos.
To delete a photo, tap the trash icon in the
top right corner of the image.
If damage is marked,
a number will appear in the bottom right corner of the photo.
You can add a comment in the field below the photo.
Once everything is completed,
tap “Submit” to finish this side of the setup.
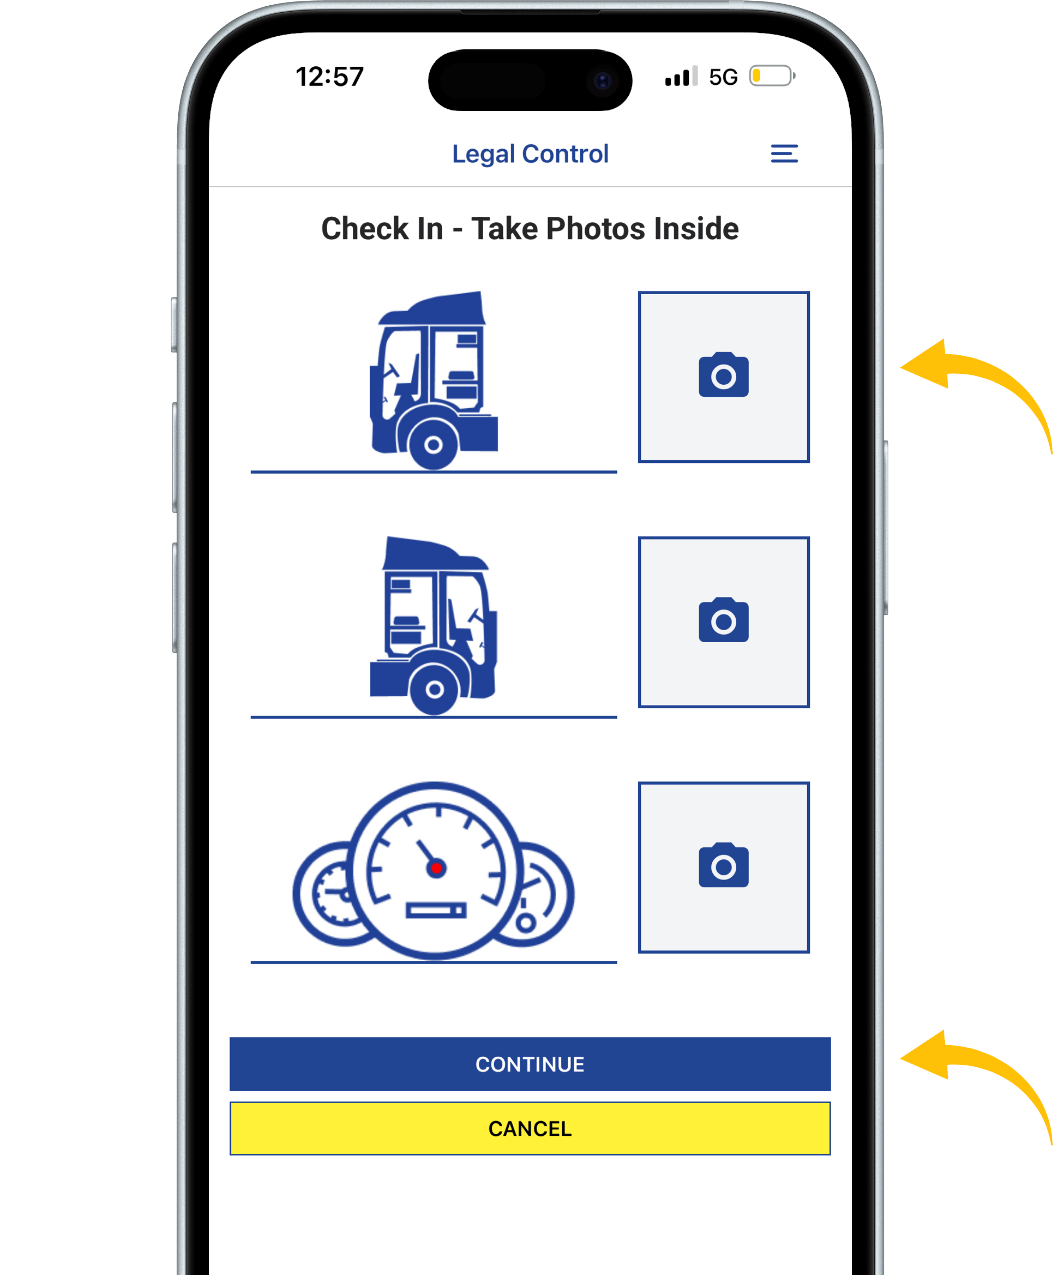
Step 8
After completing the exterior photos,
you will be asked to take photos of the interior.
Capture photos of both sides of the interior and
the dashboard while it is turned on.
Once all photos are taken, tap “Continue” to proceed.

Step 9
This is a checklist of items you may have with you.
Tap the circle next to each item to select what you have with you.
Once you are done, tap “Continue” to proceed.
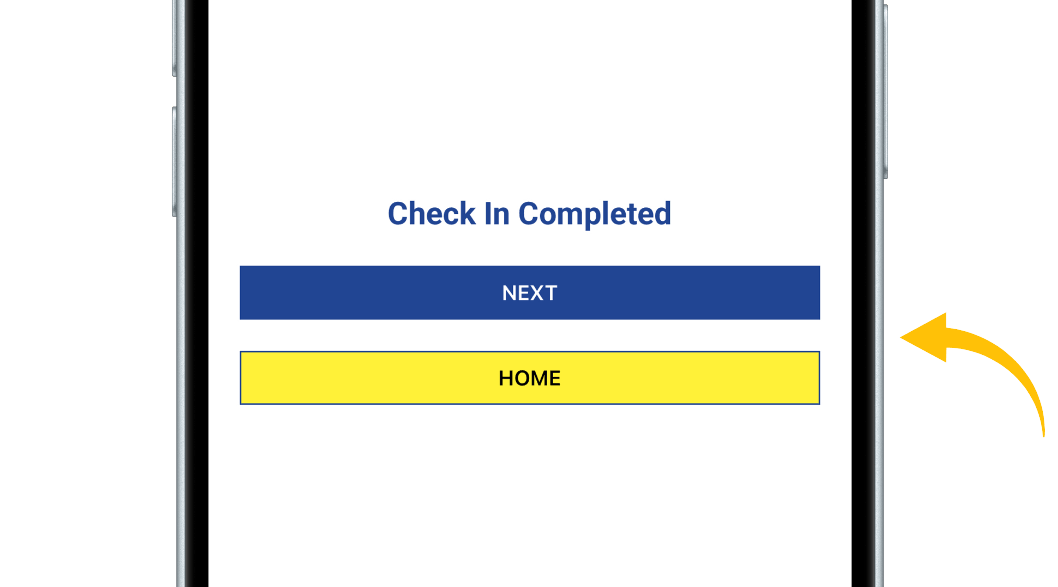
Step 10
This screen confirms that your check-in is completed.
Tap “Next” to go to the truck check overview.
Tap “Home” to return to the main screen of the app.
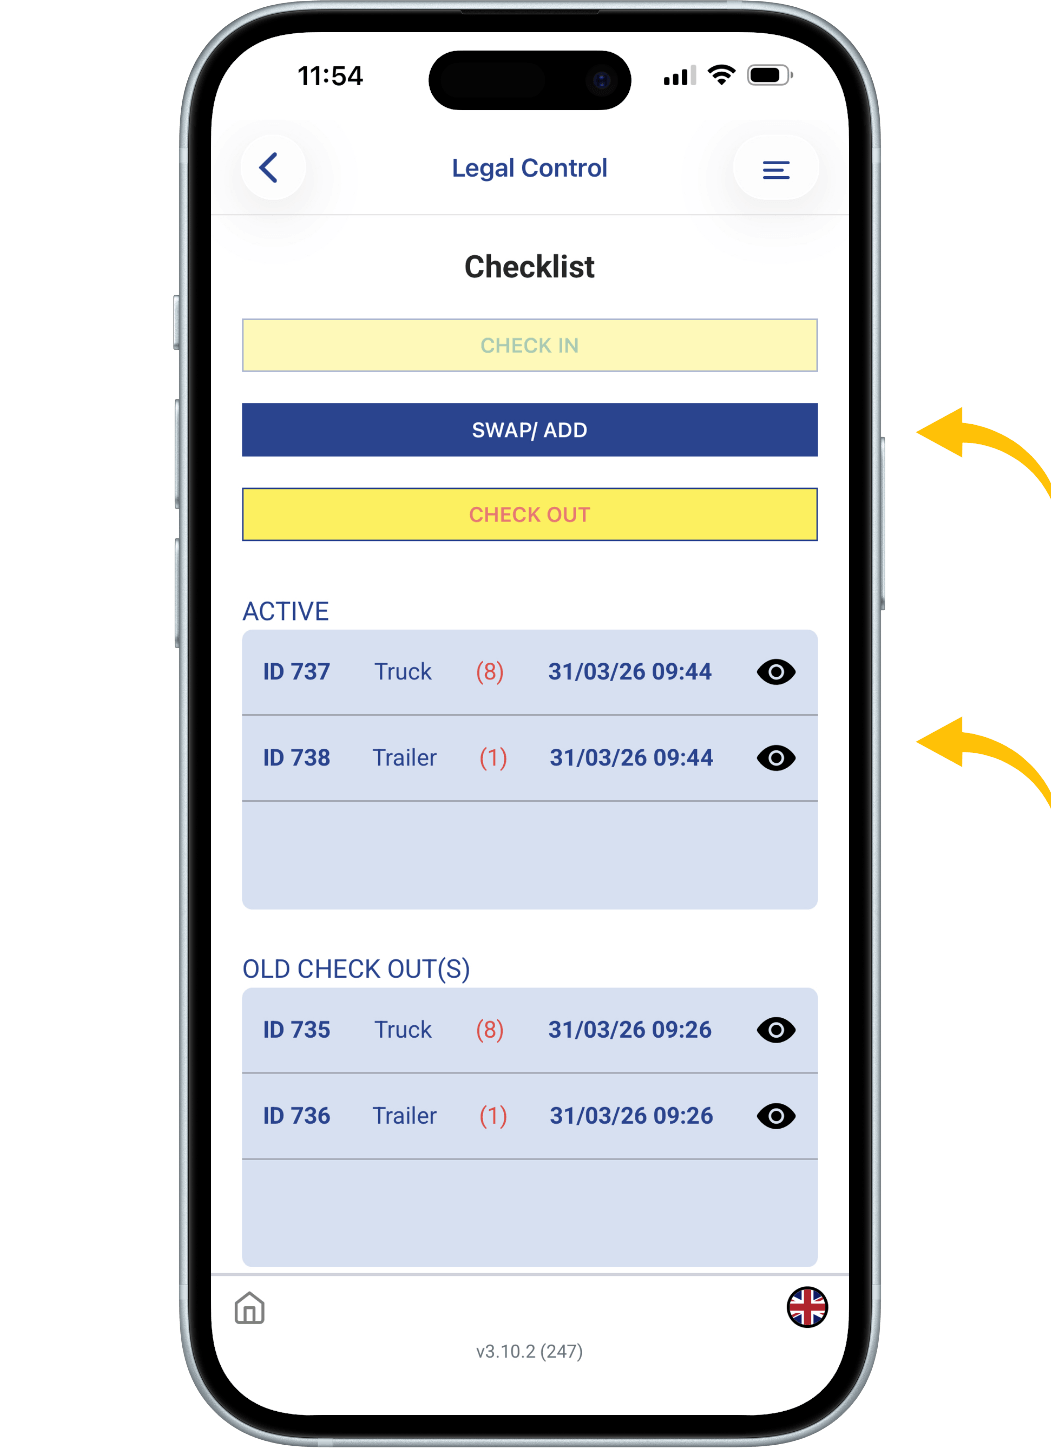
Step 11
After tapping “Next” in Step 11,
you will see the overview screen.
At the top, you will see the “Swap / Add” button,
which allows you to modify your setup.
You will also see the “Check Out” button,
used to check out a component(S).
Under “Active”, you can see what is currently checked in.
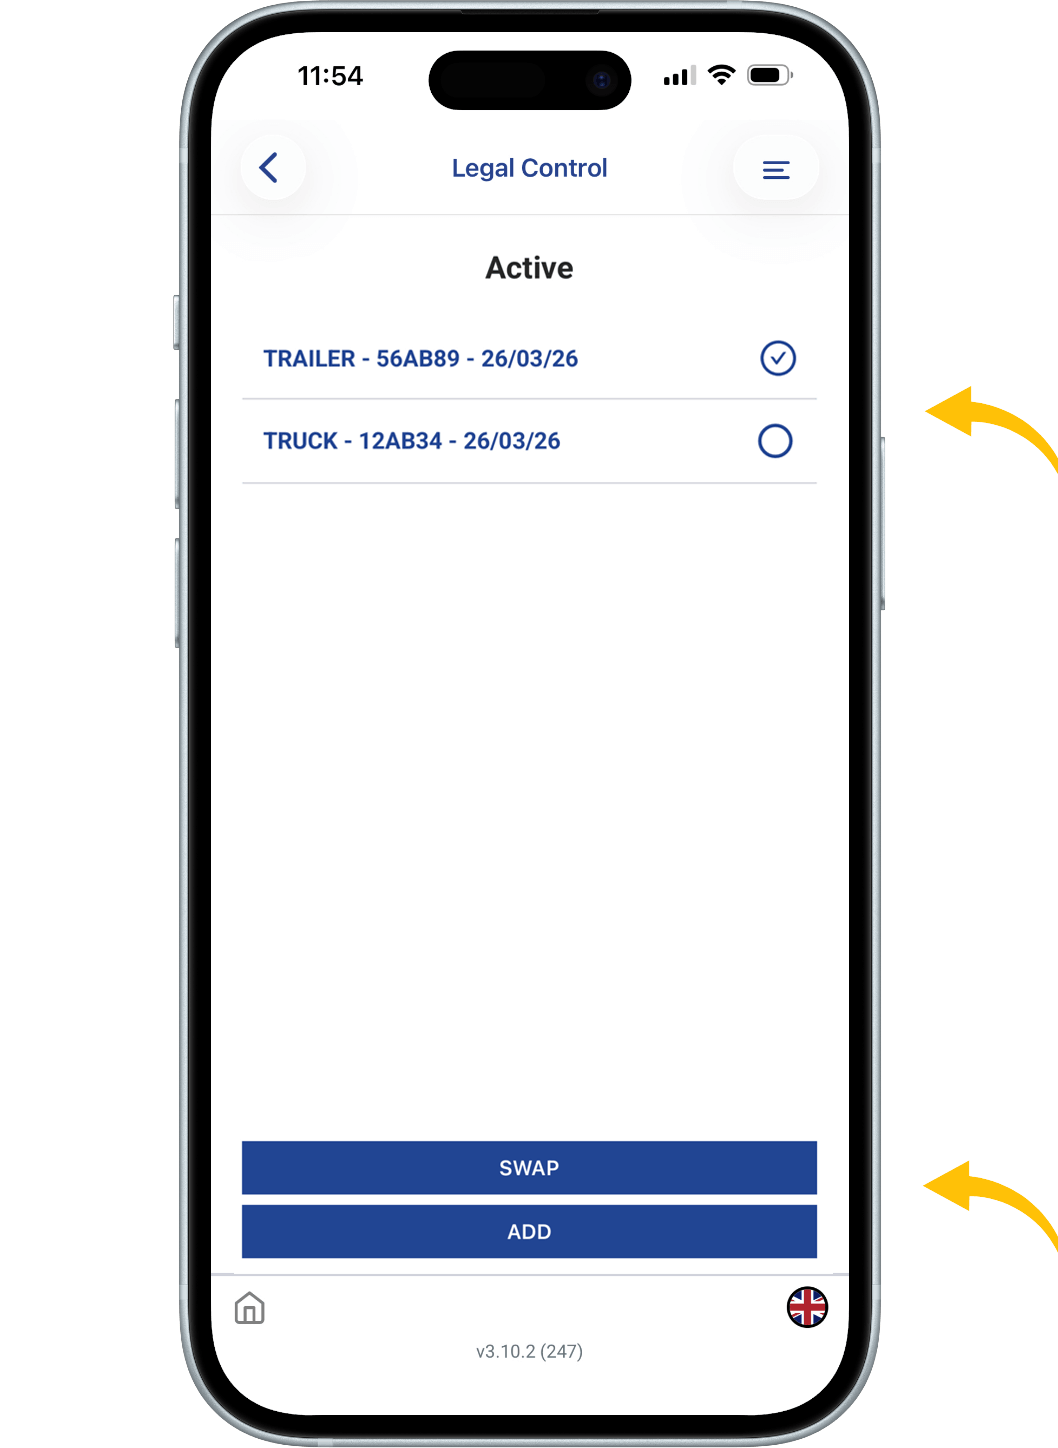
Step 12
The “Swap / Add” option allows you to modify your setup.
Swap:
First, check out the component you want to replace.
Then select the new component.
Follow the same steps as before (enter details and take photos).
Add:
Tap “Add”, select the component you want to add,
and follow the same steps.
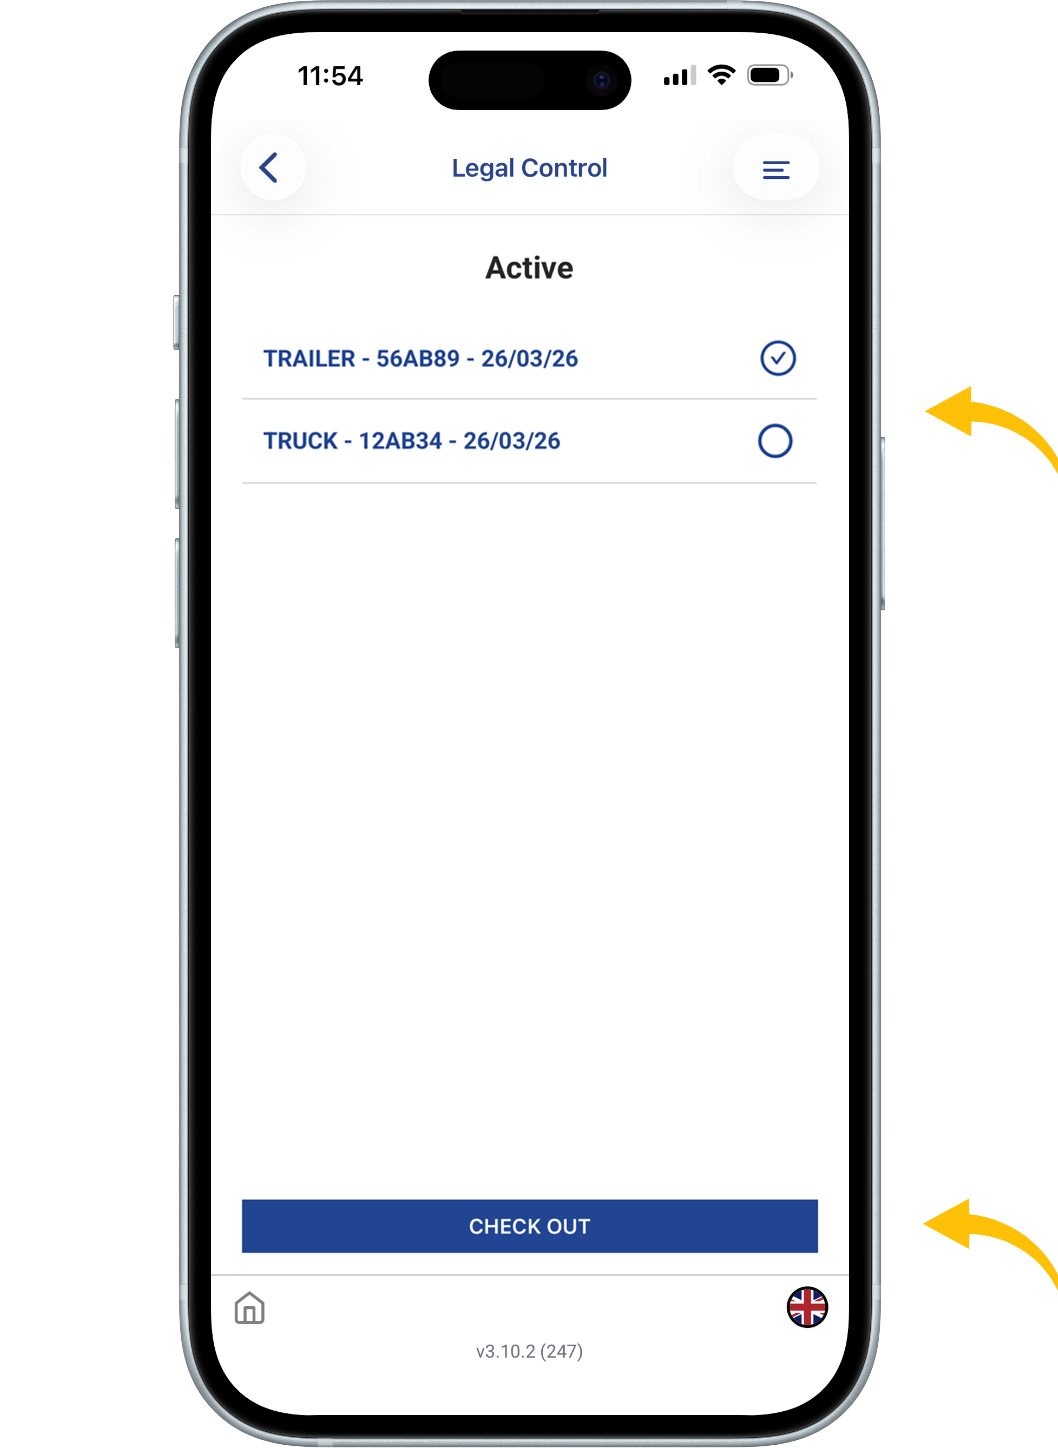
Step 13
The “Check Out” option is used to close a component.
Select the component you want to check out (one at a time).
Then tap “Check Out” at the bottom of the screen.
Follow the same steps as before (enter details and take photos).